Join Our Free Online Workshop!
Ready to finally grow a garden that works? Join our free Garden Game Plan workshop and walk away with a clear, simple plan so you know exactly what to plant, where to plant it, and when, without the overwhelm.


Grow Your Own Ginger
Ginger adds the most delicious, slightly spicy zing to juices, smoothies, and stir fries. And let me tell you, fresh homegrown ginger just hits different than store-bought (which has likely traveled all the way from Asia to a produce aisle near you).
Ginger is also so good for you. Ginger root has anti-inflammatory, antioxidant, and anticancer properties, and it's long been used to calm upset stomachs and ease nausea. Gingerols, the compounds that give ginger its flavor and cause that slight hot sensation on your tongue, have even been shown to alleviate pain and arthritis.
It might be called ginger root (and I classify it as a root in my book Leaves, Roots and Fruit), but it’s technically a rhizome. Ginger grows and spreads underneath the ground. Above ground, ginger plants have lots of leaves that you can actually harvest and use in teas, tinctures, and salves. Most of us grow ginger primarily for the rhizome, and the leaves are an added bonus.
Ginger is actually super easy to grow, and you don't have to live in a tropical climate to harvest your own little ginger fingers!


Can You Grow Ginger Outside of a Tropical Climate?
Ginger is a tropical plant that originated in Southeast Asia. It's technically only cold hardy in zones 9 through 12 because it has zero frost tolerance. I used to grow ginger in Houston, but I didn't think it was possible once I moved up to Chicago.
Then I saw this video of Gardenary-certified garden coach Rachael Carter of Flora Culture Gardens harvesting her homegrown ginger... up in Michigan. I don't know if you know this, but the weather in Michigan is just about as opposite of tropical as you can get.
Needless to say, I was filled with envy and asked her what her secret is. The key, she says, is to start ginger indoors and then move it outside once the weather warms up (more on that in a bit).
So yes, growing ginger is possible even for you gardeners who live farther north.
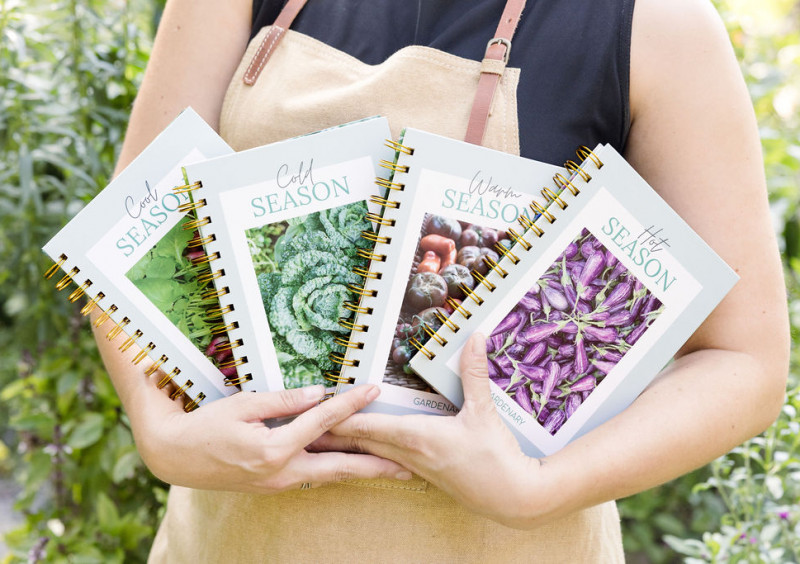
Seasonal Guides for Year-Round Success
Stay on top of your garden year-round with these seasonal garden guides! This four-book set gives you expert guidance, ensuring you always know what to plant, how to care for your garden, and when to harvest.
Ginger Grow Guide
When to Grow Ginger
Picture conditions in your favorite tropical local if you’re interested in growing ginger. These plants love heat and humidity. So if it’s 55°F, it’s too cold to grow ginger outdoors. This plant needs to stay indoors until nighttime temps are over 60°F.
For many of us, that means we need to start ginger indoors and then move it outside once the weather warms up. Ideally, you’ll start your ginger indoors about 4 to 6 weeks before your average low temps will be above 60°F. Up in Michigan, Rachael starts sprouting her seed ginger indoors in March in preparation for the growing season, which begins in May.
Ginger needs about 10 months to grow to maturity, but the rhizomes are harvestable at any size. In the fall, you can harvest whatever you have or pot your plant up and bring it indoors for the winter months.
If you live in a warmer climate like Florida, you might be able to grow ginger year round.

Where to Grow Ginger
You can grow a little bit of ginger in a container or a lot of ginger in the ground. Overall, ginger grows horizontally underground while sending up vegetation that can grow 4 feet tall. (I don't recommend growing ginger in a raised bed due to its size.)
Growing Ginger in a Container
You just need a pot or container about 12 inches deep and wide. Make sure your pot has good drainage holes. Ginger likes the soil to stay moist, but if there's absolutely no drainage, the roots can rot.
One great thing about growing ginger in a container is you can just bring it indoors once it starts getting cold.
Growing Ginger in the Ground
Because ginger grows horizontally, you want to find a place where it can spread out. A native plant or pollinator garden would be ideal. "You can tuck it anywhere," Rachael says.
How Much Sunlight Does Ginger Need?
Ginger can grow in part shade to full sun. "I grew it in 4 hours of sunlight and got the same exact yield as full sun," Rachael says. "I think it's because it's used to growing in the understory of taller things. If I have spots in my bed that are behind other taller plants, I just tuck it in."
How to Start Ginger Plants
We don’t start ginger from ginger seeds but from pieces of ginger (which are, confusingly enough, called "seed ginger"). Basically, you buy ginger to grow ginger.
I ordered my ginger from a company called Fruition Seeds, but you can also look for local providers, like your local farmers’ market or garden center. Companies run out of stock for the year quickly, so the best time to order your ginger is in January or February. Most providers will put you on a waiting list and then send you your ginger once it’s the optimal time to start growing these plants.
You can also try to sprout ginger from the grocery store. Most ginger pieces have been sprayed with a growth inhibitor to prevent sprouting so that they have a longer shelf life. Look for organic ginger since you actually want your ginger to sprout so that you can turn it into a plant. Soak your ginger piece in lukewarm water overnight once you bring it home just in case it’s been sprayed with something to keep it from sprouting.
The benefit of buying ginger from the store is that it’s less expensive and more readily available. The drawback is that you’re not guaranteed to end up with even the beginning of a plant.
How to Pre-Sprout Ginger Before Planting
You'll need some supplies to pre-sprout your seed ginger. The great news is you can reuse your indoor seed starting supplies, if you have them.
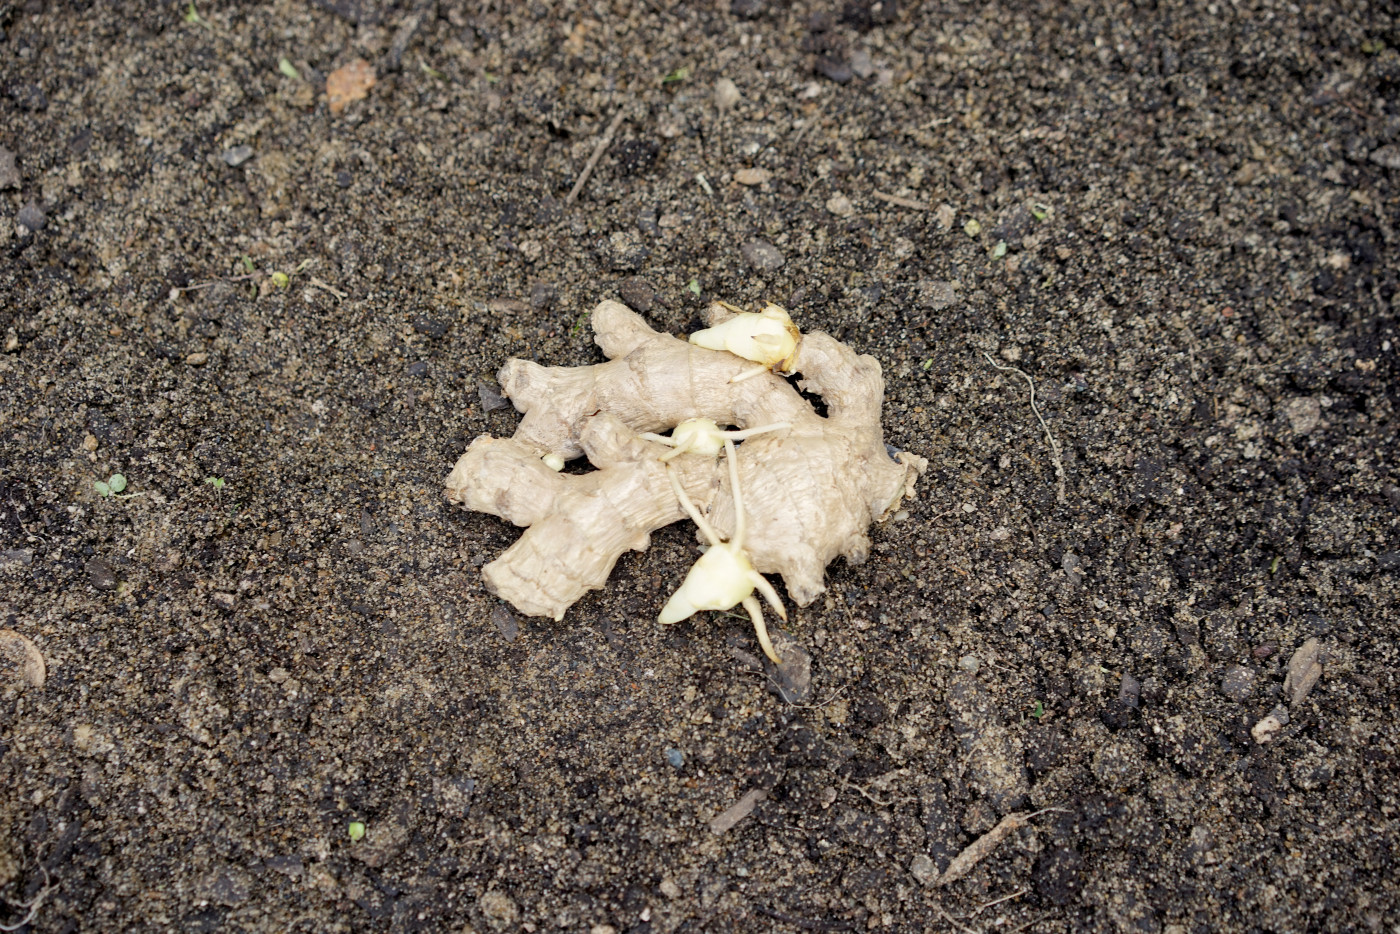
Supplies to Sprout Ginger
- GINGER PIECES - Sort through your pieces to select only the best ones for sprouting. You want nice, smooth flesh and a couple eyes with greenish tips. Discard any pieces that are dry and shriveled up. (Again, if you're attempting to sprout ginger from the grocery store, soak it in warm water overnight in case it's been sprayed with growth inhibitor.) If you'd like, you can chop your pieces into even smaller thumb-sized pieces. "As long as they all have an eye," Rachael says, "they'll sprout."
- DRAINING TRAY - You’ll need a tray that has little holes in the bottom so that water can pass through. If you use a non-draining tray, you risk your ginger soaking for too long and rotting.
- NON-DRAINING TRAY - Then you need a non-draining tray that can hold your draining tray and water. These two trays are used to water from the bottom so that the soil can absorb water from the base.
- PLASTIC DOME (optional) - I recommend using a plastic dome to put on top to hold in moisture until your ginger pieces sprout. This dome should be removed the minute you see little sprouts coming from your ginger. You can find success without covering your trays. If you’ve ever bought supplies for seed starting indoors, you probably have a plastic dome lying around already, so you might as well use it.
- GROWING MEDIUM - Any well-draining soil mix will do as a growing medium for your ginger plant babies. My ideal mix is equal parts topsoil, compost, and coarse sand, but you can use a general raised bed garden mix. (The compost and sand are just in there to help with drainage.) If you have earthworm castings on hand, you can mix a little in for a nice nutritional boost. Ginger is a somewhat heavy feeder.
- HEAT MAT - The heat mat will keep your soil so warm that your ginger plant will think it’s growing in the Bahamas.
- GROW LIGHTS - Grow lights will help deliver strong and consistent light to your ginger sprouts.
Once you have all your materials, you’re ready to get growing!


Steps to Sprout Ginger
- Scoop a couple of inches of your soil mix into the draining container and spread it out.
- Place your ginger pieces on top of the soil with the eyes facing up. Wiggle them a bit to settle them into the soil. They can grow close together if you have a lot of pieces. They won’t be living here long term. This is really just like their nursery before they’re ready to have their own space in the great (and warm) outdoors.
- Sprinkle some soil on top of the pieces.
- Pour a little bit of water into the non-draining tray. Then, carefully set your draining tray inside the non-draining tray. The soil will absorb the water, and the ginger pieces will begin to swell, which encourages them to sprout.
- Place the trays on the top of the heat mat. This, plus water, is what activates the growth.
- As soon as you see little green sprouts forming from the eyes, turn on the grow lights for at least 12 hours a day (and remember to remove the plastic dome). Keep the soil consistently moist but not soaking. Your sprouted pieces can continue growing in their current setup until your last frost date has passed.
Note: It often takes 2 to 3 weeks for the ginger to start sprouting. Rachael has even had it take up to 6 weeks. Check on your pieces every couple of days, she says, and just leave them be until they're sprouting.
How to Transplant Ginger
You'll want to wait a couple weeks after you last frost date to move your ginger outside. Rachael waits until the end of May up in Michigan.
Ideally, you'll have little sprouts that are a couple inches tall by then. You can pot them up or plant them in a garden bed at this time. Use a long, thin trowel or a hori hori knife to dig planting holes about 3 inches deep. Space each ginger plant 12 inches apart. Water your plants in well to welcome them to their home for the summer!
How to Care for Ginger Plants
Your ginger plants don't need a whole lot of attention. The biggest thing is just to water them regularly. Ginger likes the soil to be consistently moist, so don't let the soil dry out between waterings. Water when the soil feels dry about 1 inch down (remember, those roots are pretty shallow.)
About once a month, push some compost and/or earthworm castings around the base of your ginger plants to make sure they have plenty of nutrients.
Your ginger plant will push out lots of little leaves above ground, eventually growing as tall as 4 feet. You may notice some roots popping above the soil line—that's normal. You can push some compost over them, or leave them be.
In the fall, the leaves of your plants will start dying off once the temperatures drop into the 50s. The rhizomes should still be nice and protected in the soil. You'll just need to make sure you harvest or pot up your plants before you get freezing temps (32°F).
Ginger Harvest Guide
When to Harvest Ginger
Ginger multiplies itself, so for every little finger you plant, you'll eventually get a whole hand of ginger (it'll be about the size of your palm). That means one hand of ginger chopped into 10 pieces could yield 10 hands!
This process of self-multiplication technically takes about 8 to 10 months, but you can actually harvest ginger after it's been growing for just 2 months. That's great news for those of you in colder climates, where your ginger plants will probably not have time to mature before the season is over. You'll need to harvest whatever's grown or move your ginger plants inside. "As a gardener without the true season that it needs," Rachael says, "I just accepted that it wouldn't be as big as it possibly could have been." Hey, you're still getting homegrown organic ginger, right?
You can also harvest some of the leaves while you're waiting on the rhizomes to grow. These leaves can be used to make ginger leaf tea. You can even chop them up and toss them onto salads or stir fries for a little zing.
How to Harvest Ginger
When harvesting ginger, you can harvest the entire root or just part of the rhizome. If you want the plant to stay alive and keep on growing, then you'll just push some of the soil away from the base of the plant to reveal the rhizome. Choose a finger and cut it with a sharp knife. Push the soil back in place so the plant can keep on doing its thing. Give the plant some time to recover and then come back to harvest a little bit more.
If your ginger's growing in a container, it's super easy to dig up the plant, cut off a couple fingers, and replant the hand so it can keep on growing. You can (and should!) harvest regularly to make sure the rest of the roots have plenty of room to spread. It's possible to keep plants alive for years this way.
To harvest the entire root, dig up the rhizome. Rinse it under some water, and it's ready to make carrot juice.


Enjoy Your Homegrown Ginger!
Ginger is such an incredible little plant. I mean, how many other things in life can you end up with 10 times what you started with? (I wish I could get that kind of return from the stock market or real estate!)
But here's the really cool part: You can take part of your ginger harvest and sprout it again. The end is really just the beginning. You can eventually end up with 100 times what you started with.
Start growing ginger this year, and who knows? Maybe you'll manifest great returns in the rest of your life!

Learn How to Plant the Gardenary Way